RPC介绍
RPC(Remote Procedure Call)是一种远程调用协议,能够使应用像调用本地方法一样调用远程的过程或服务。可以应用在分布式服务、分布式计算、远程调用等场景。
Go实现rpc-server
1 | package main |
首先我们要实定义类对象并绑定一个类方法。在server中的main函数中第一步需要实现的是注册RPC服务,绑定对象方法。RegisterName函数的第一个参数是服务名,是一个字符串类型。第二个参数对应rpc对象。方法必须是导出的,必须有两个参数,方法第二个参数必须是指针。方法只有一个error接口类型的返回值。第二步是设置监听,这里我们使用net.listen监听本地tcp下的8800端口。第三步是建立链接,使用Accept会返回一个用于通信的connect。最后绑定服务即可。这里注意对于listener和conn在使用完后一定要close。
Go实现rpc-client
1 | package main |
client端第一步先通过Dial链接服务器。链接成功之后通过Call调用远程函数,对于Call的第一个参数是服务名.方法名,第二个是传入参数,第三个是接收参数,因为在server端类方法的第二个参数是指针类型。所以这里Call的第三个参数要传地址用于接收函数返回值。
Json-rpc
使用nc -l 127.0.0.1 8800充当服务器发起通信产生乱码

这是因为rpc使用了go语言特有的数据序列化gob,其他编程语言不能解析。因此我们可以使用通用的序列化,反序列化例如json、protobuf来解决。
修改上面client端的链接服务器代码如下即可
1 | conn,err := jsonrpc.Dial("tcp","127.0.0.1:8800") |

RPC封装
服务端封装
1 | //创建接口,在接口中定义方法原型 |
客户端封装
1 | //定义类 |
protobuf
protobuf是Google开发出来的一个语言无关、平台无关的数据序列化工具,在rpc或tcp通信等很多场景都可以使用。通俗来讲,如果客户端和服务端使用的是不同的语言,那么在服务端定义一个数据结构,通过protobuf转化为字节流,再传送到客户端解码,就可以得到对应的数据结构。如果实现rpc我们可以使用json进行序列化。如果使用protobuf做序列化就需要使用gRPC。
protobuf语法:https://www.bookstack.cn/read/topgoer/abb9896b6124ea54.md
安装protobuf
macos使用brew进行安装protobuf编译器
1 | brew install protobuf |
protobuf编写
1 | //默认是proto2 |
编译protobuf
1 | protoc --go_out=./ *.proto |
在当前目录下会生成myproto.pb.go文件
consul
Consul是一个服务网格解决方案,提供了一个功能齐全的控制平面,具有服务发现、配置和分段功能。 这些功能中的每一项都可以根据需要单独使用,也可以一起使用来构建一个完整的服务网格。 Consul需要一个数据平面,并支持代理和原生集成模型。
安装consul
1 | brew install consul |
macos在/etc目录下创建consul.d文件夹,进入consul.d文件夹下。
创建json文件
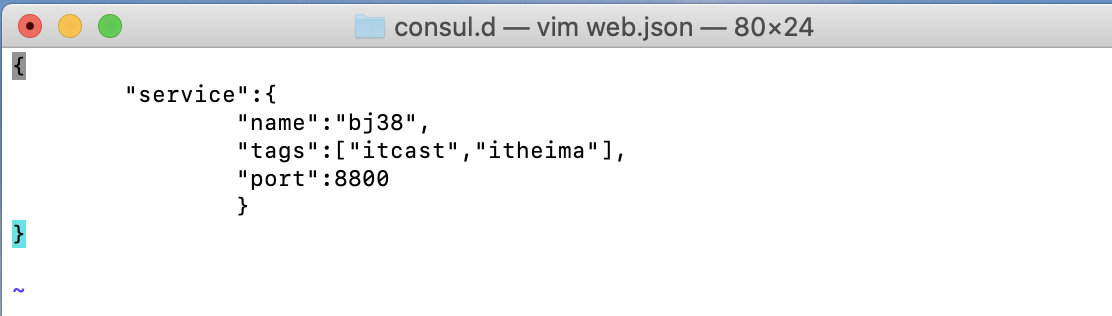
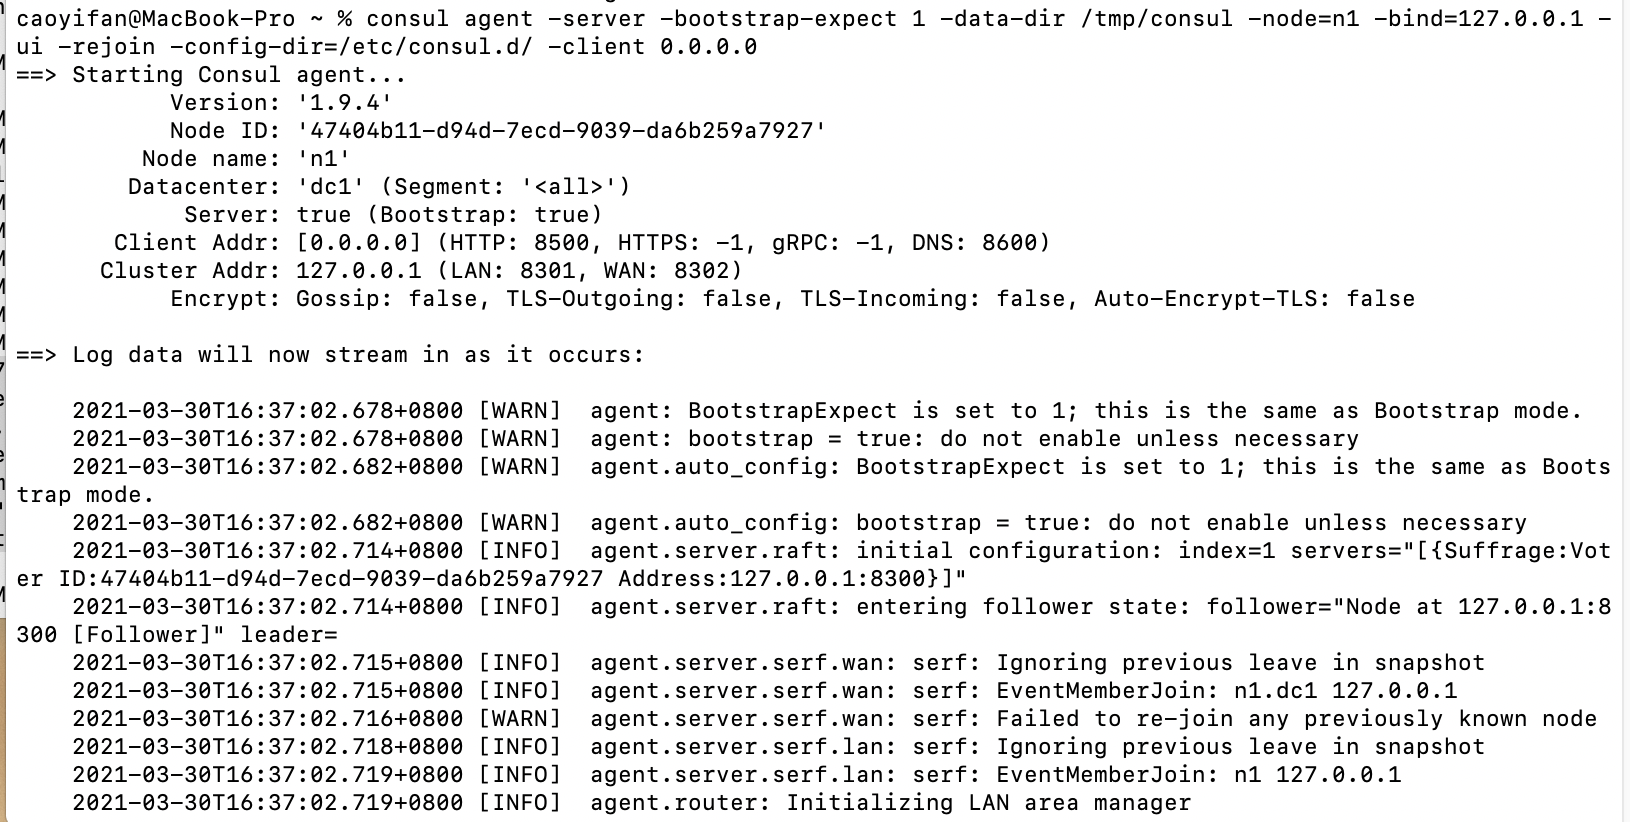
启动consul
1 | consul agent -server -bootstrap-expect 1 -data-dir /tmp/consul -node=n1 -bind=127.0.0.1 -ui -rejoin -config-dir=/etc/consul.d/ -client 0.0.0.0 |
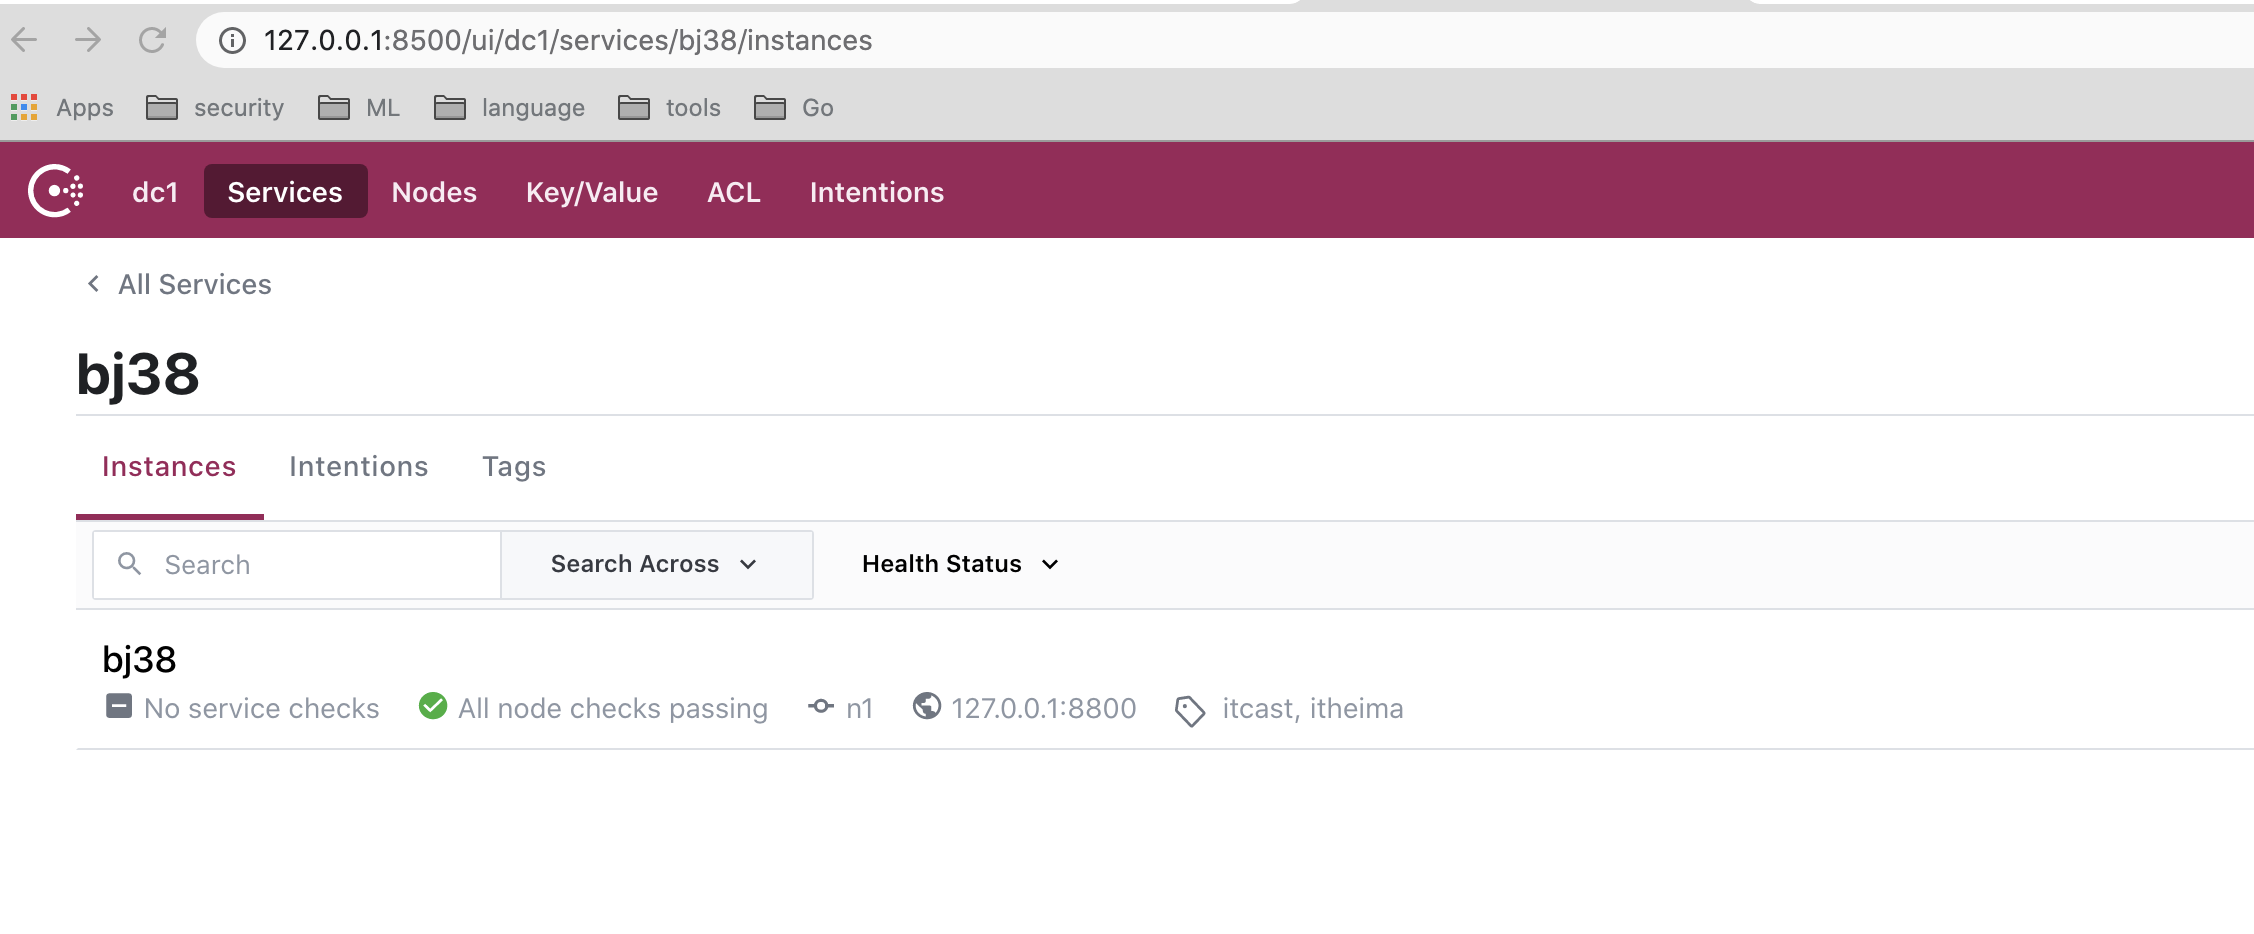
浏览器查看
访问127.0.0.1:8500查看节点信息
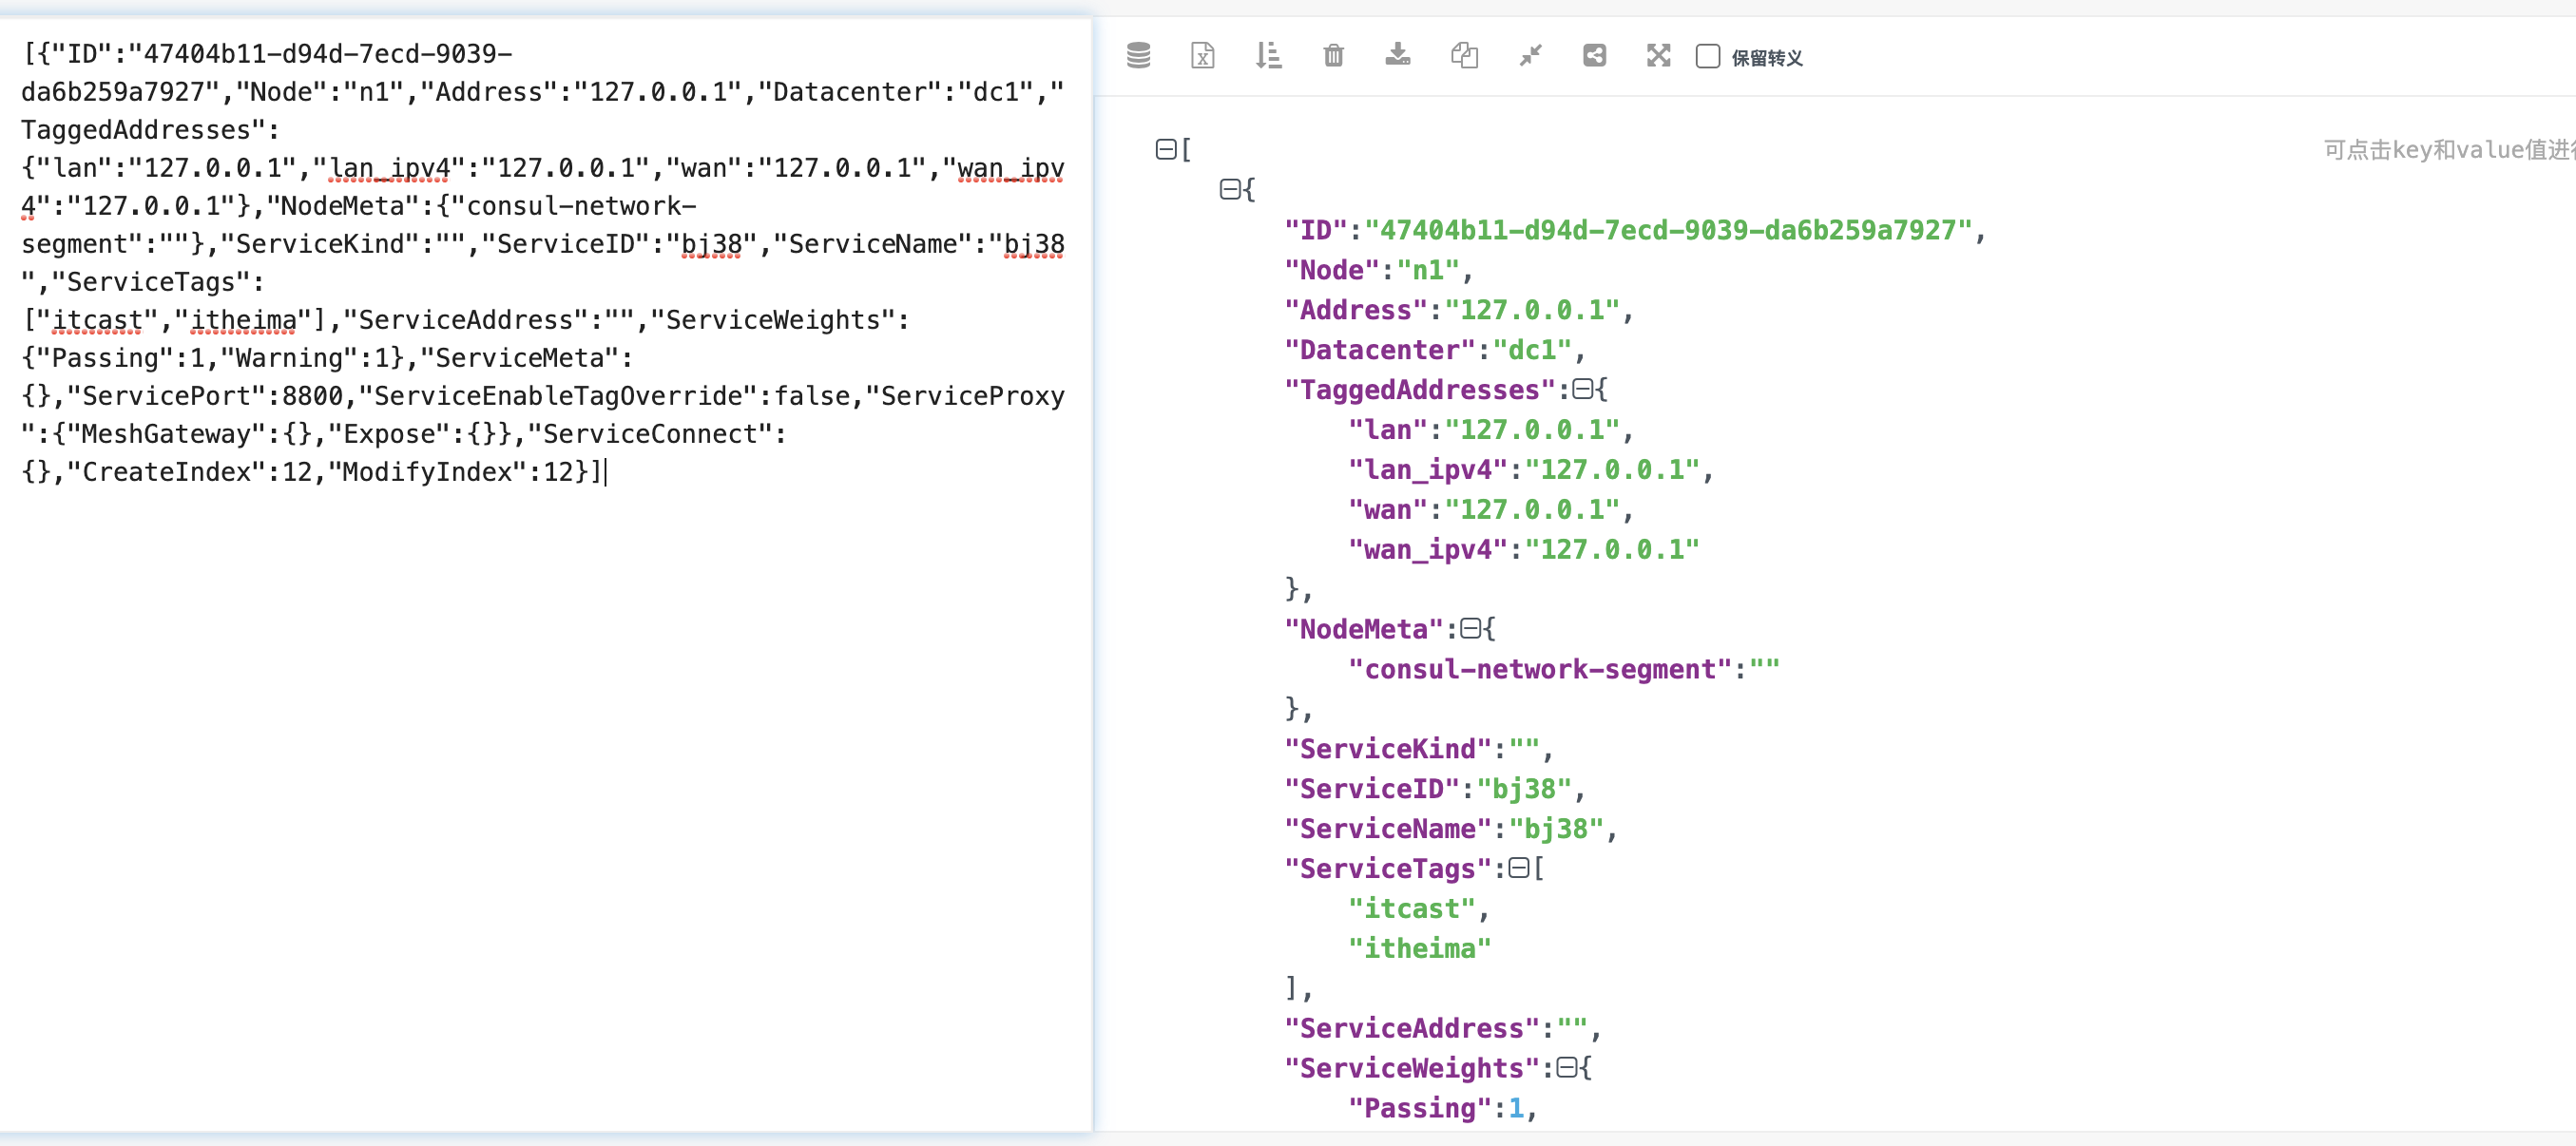
命令行查看
1 | curl -s 127.0.0.1:8500/v1/catalog/service/bj38 |
健康检查
1 | sudo /etc/consul.d/web.json |
写入配置文件信息
1 | { |
启动consul
1 | consul agent -server -bootstrap-expect 1 -data-dir /tmp/consul -node=n1 -bind=127.0.0.1 -ui -rejoin -config-dir=/etc/consul.d/ -client 0.0.0.0 |
gRPC介绍
官方中文文档:http://doc.oschina.net/grpc?t=58008
Go实现gRPC
首先创建一个简单的go版本的protobuf文件,该文件在项目的pb文件夹中,命名为person.proto,项目名为day02。
1 | syntax = "proto3"; |
这里遇到了一个很坑的问题,就是要将上面的package pb;改为option go_package = "/;pb";,这个问题折磨了我有半个下午。大概报错如下图
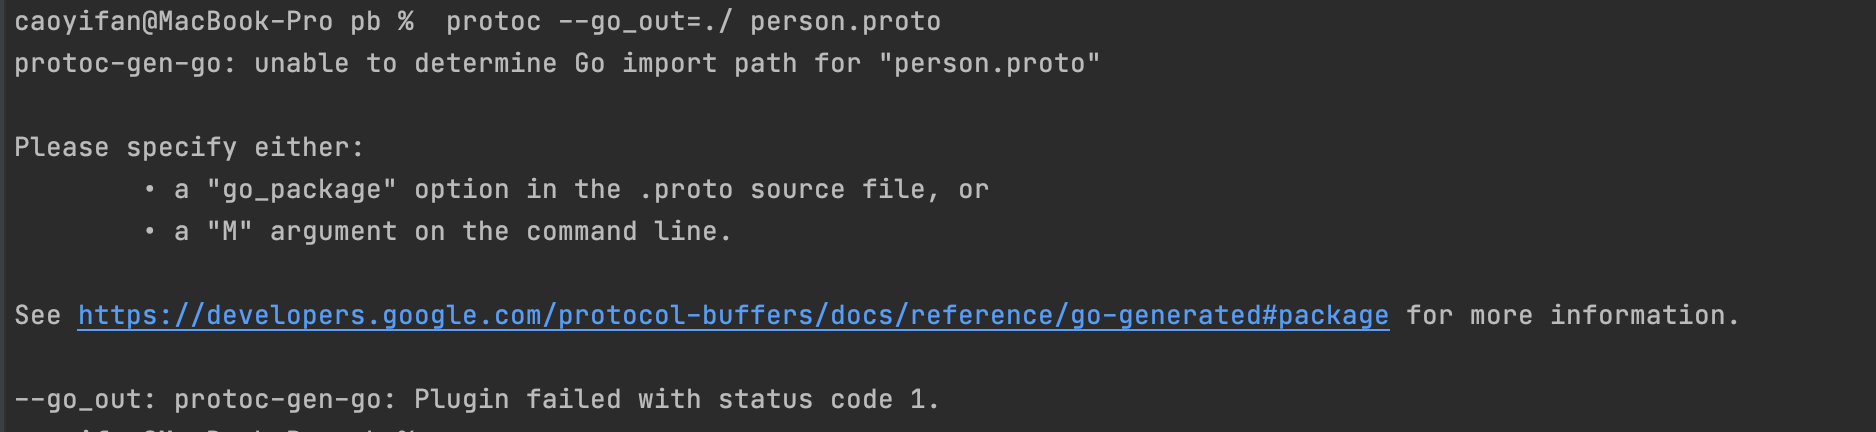
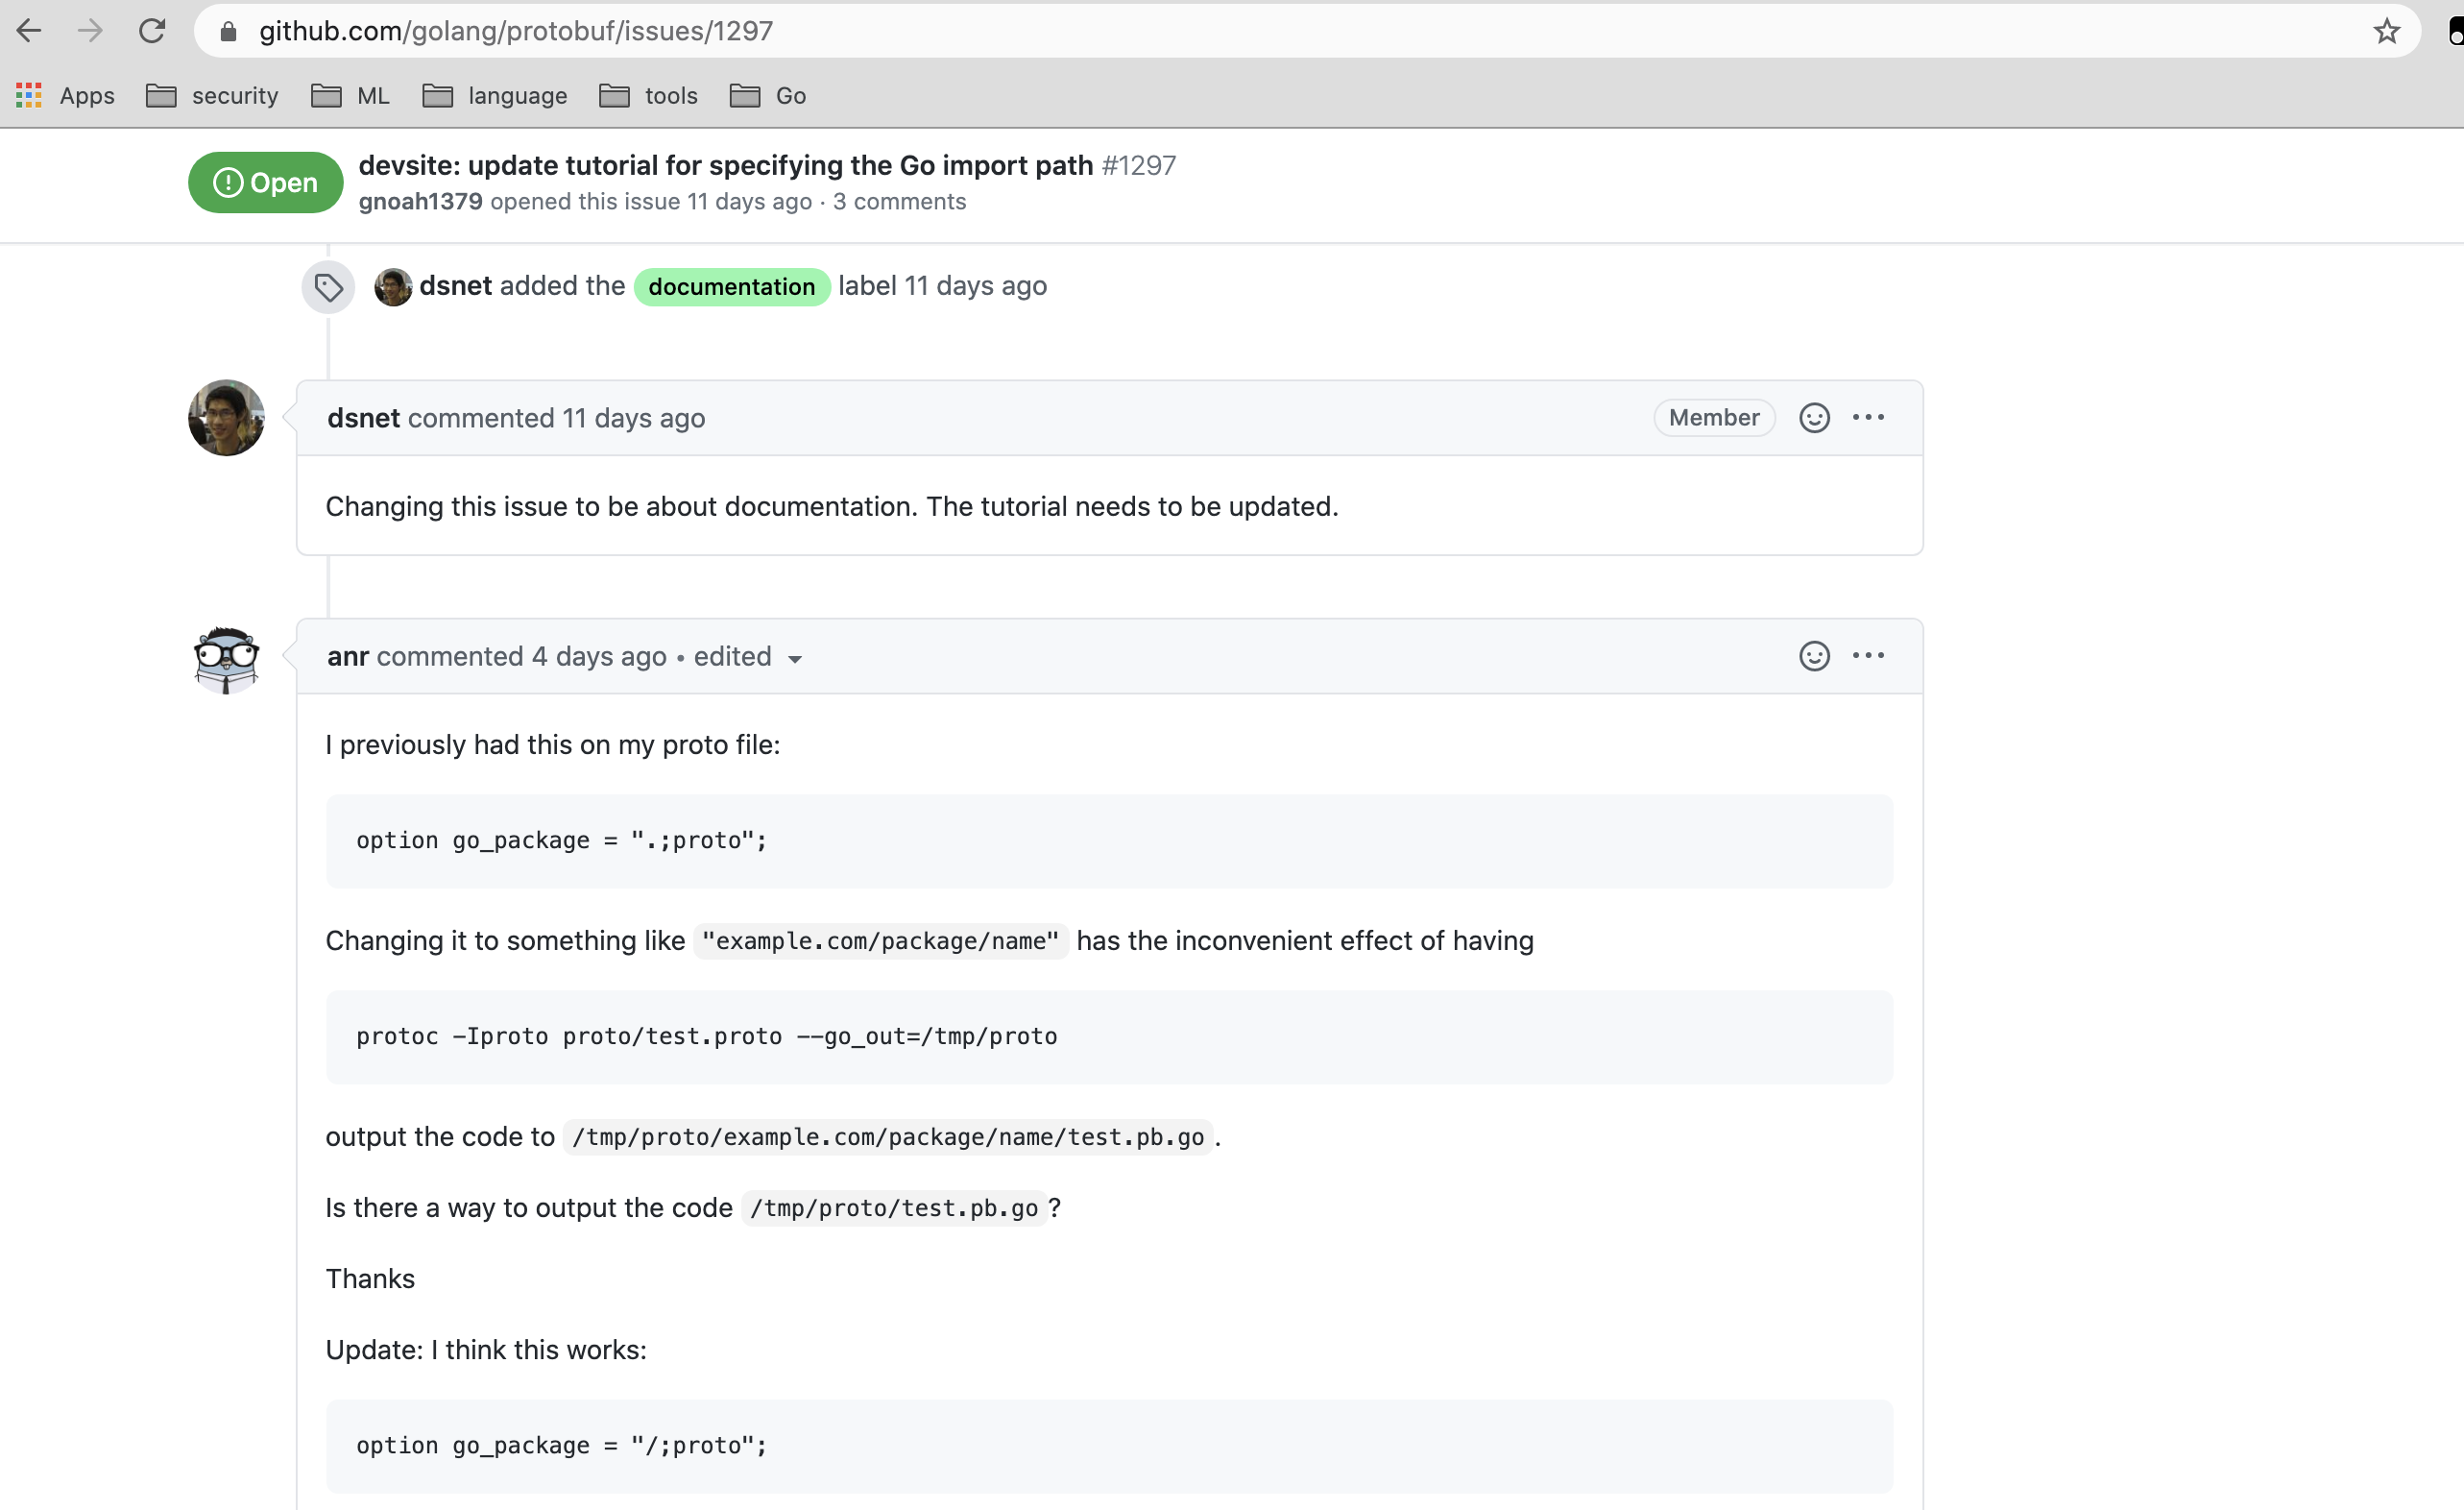
一开始根本不知道问题出在哪。baidu/google了很久都没有找到解决办法。我想这可能跟protoc-gen-go的版本有关。来来回回安装protoc-gen-go,无果。最后终于在github上找到了解决办法。
生成.go文件
1 | protoc --go_out=plugins=grpc:./ *.proto |
gRPC-server
1 | package main |

gRPC-client
1 | package main |
